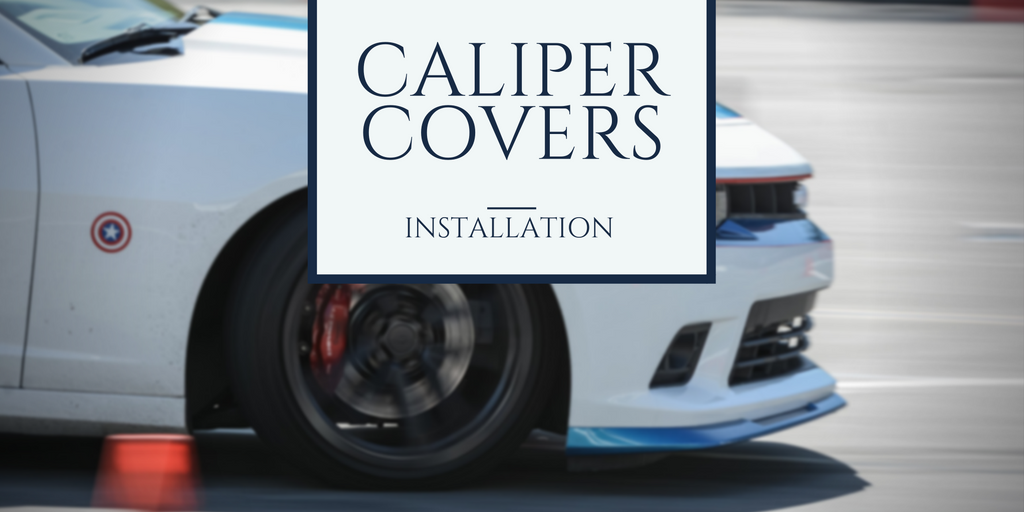
MGP caliper covers are the unquestioned industry leader, and they’re the caliper cover of choice for 6th generation Camaro owners. For a quick splash of cover and added protection from dust, debris and other foreign objects, it’s hard to beat a 6th gen Camaro caliper cover installation. This Camaro caliper cover is a featured product of RPI Design’s performance car accessory collection.
And here’s what all do-it-yourself (DIY) mod fanatics love about this particular type of upgrade: it’s probably the easiest exterior part mod anyone can do!
All you need is about an hour of time, a few tools and you’re good to go!
If you want to know how to install caliper covers for your Camaro, class is in session. This RPI Designs blog will cover all the basics of installing caliper covers. We’ll review the proper tools to use, along with step-by-step instructions to make your Camaro upgrade project as easy as possible. Since this wheel component modification is super-easy and provides a dual appearance / performance upgrade, it’s one of the most popular DIY projects for any Camaro owner, from a new owner to the most experienced mod enthusiast.
In no time at all, you’ll know how to install MGP caliper covers on your Camaro. Before we get started with tools, tips, and tricks, let’s look at the benefits from installation MGP caliper covers.
Benefits of MGP Caliper Covers for your Camaro
In terms on install time to visual impact ratio, no other Camaro modification “pops” like an MGP caliper cover install. Why are MGP caliper covers such a popular mod?
- Quicker than quick install procedure. When discussing the easiest ways to instantly improve your Camaro, nothing can quite match the easy, efficient, ultra-simple install of MGP caliper covers on your Camaro. In literally 5-10 minutes – 15 minutes tops – your project is done. Minimal time investment, maximum visual impact. Once you know how to install MGP caliper covers, you’ll enjoy endless opportunities to swap out colors and try different caliper combinations.
- Brake system protection. Your Camaro’s brakes are some of the most extreme-heat, high-stress components. As such, a relentless wave of brake dust, road debris, and other foreign objects present challenges on a mile-by-mile basis. With MGP caliper covers, your brakes are covered from heat, dust & debris, and much more. For smart yet simple brake protection, try a set of MGP caliper covers today.
- Serious style. Beyond your Camaro’s main body, there aren’t many other places on your car to add a dash of color or extra style. The calipers are one of the last remaining slices of Camaro real estate to really make your mark – and MGP covers never disappoint in this regard. With an extensive assortment of styles and colors to pick from, RPI Designs has everything you need for comprehensive Camaro style along the wheelbase, whether you want to complement your car’s main color, of add distinct contrast. With our MGP caliper covers, your Camaro’s appearance is entirely up to you!
Before getting started, you’ll need the following tools:
- Jack stands
- Floor jack
- Lug wrench
- Wrench or socket set
- A friend (6th gen Camaro upgrades are always better when a buddy’s on hand)
MGP caliper covers are super-simple to install:
- Park your Camaro on a stable, level surface.
- Apply emergency brake and safely jack up Camaro. Jack stands are recommended. Make sure your jack stands’ contact points align with the car’s frame-support locations. This is important to maintain your Camaro’s frame integrity.
- Remove wheel.
- Secure the upper mounting bracket clip to brake caliper.
- Line up the caliper cover’s upper mounting screw with the upper mounting bracket slot.
- Hand-tighten the upper mounting screw. This is one of the most important steps in the entire MGP caliper installation process; if you tighten with a socket wrench in this step, your caliper covers probably won’t align correctly.
- Secure the bottom mounting bracket clip to brake caliper.
- Align lower mounting screw to lower mounting bracket slot.
- Hand-tighten the lower mounting screw. Again, it’s critical to ONLY hand-tighten at this point; see step 6.
- Ensure the MGP caliper cover is properly aligned.
- Use a socket wrench to secure upper and lower mounting screws. Apply a reasonable amount of torque, but don’t overdo it. Once the screws are firmly in contact with the caliper cover face, one complete turn to tighten should suffice.
- Repeat steps 3-11 for remaining wheels.
- Safely lower car, disengage emergency brake and enjoy! After your initial test drive, check to ensure caliper covers haven’t slipped or moved.
These 6th gen Camaro caliper covers are just one of the many fine accessories we offer! Check out our entire line of 6th gen Camaro parts and accessories. RPI Designs offers the best Camaro components available anywhere, and we’re glad to help with your next Camaro DIY installation.
Now that you know how to install caliper covers for your Camaro, it’s time to schedule your next modification. If you have any questions, or need additional information about our MGP calipers covers, give our Camaro parts experts a call today at 888.257.8515. Thanks for visiting the RPI Designs blog!